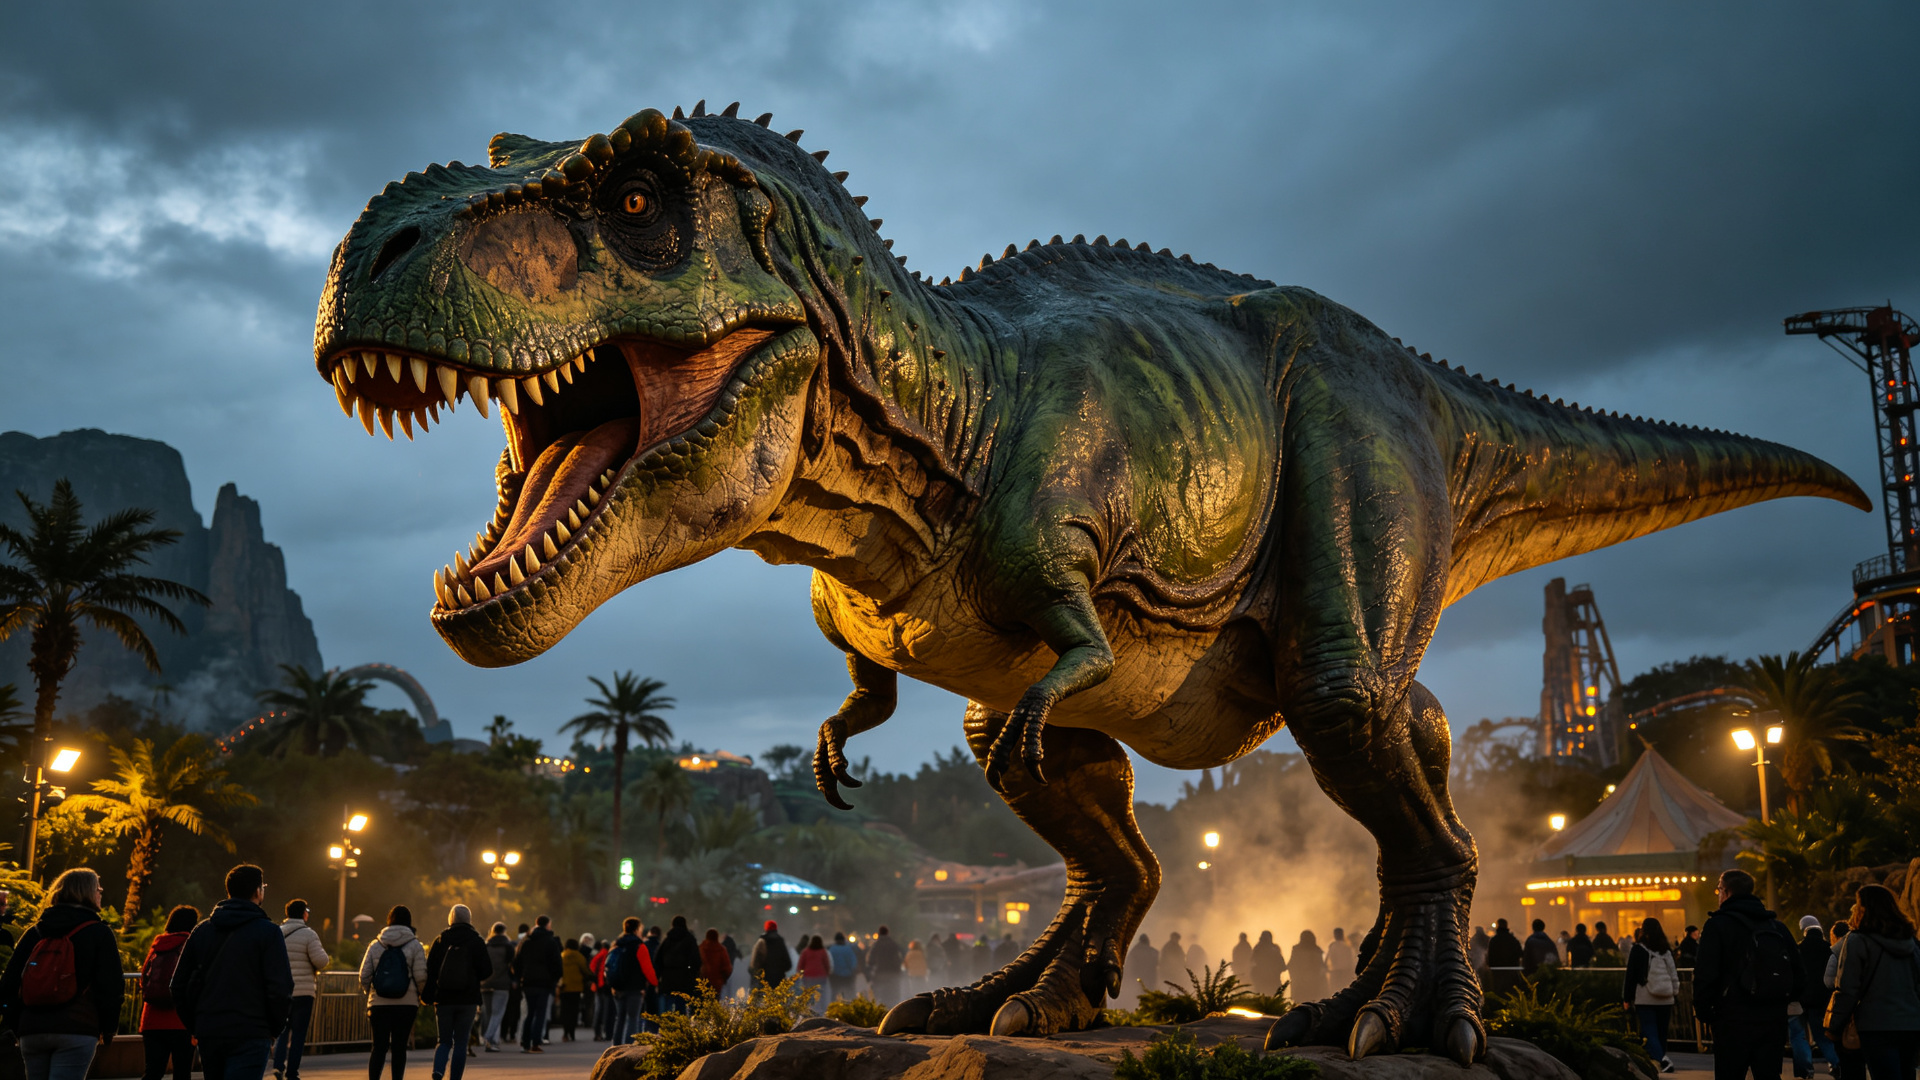
While standard catalog models work perfectly for many applications, some projects demand something entirely unique. Perhaps you need a specific species not in any catalog, a creature from mythology or fantasy, a dinosaur with custom branding or sponsor integration, or an animatronic designed to fit a specific space with unusual constraints. That is where custom animatronic design comes in.
The custom design process is a collaborative journey between the client and the manufacturer. When done well, it results in a one-of-a-kind attraction that perfectly matches your vision. When done poorly, it can lead to cost overruns, delays, and a final product that misses the mark. Understanding the process will help you get the best result from your custom project.
When to Go Custom vs. Standard
Custom animatronics cost 30-100% more than comparable standard models and take longer to produce. Consider going custom if:
- You need a species not available in standard catalogs
- Your project calls for a fantasy creature, alien, monster, or other non-extinct animal
- You need specific branding, logos, or sponsor integration built into the design
- The dinosaur must fit an unusual space, position, or mounting configuration
- You require unique movements or interactive features not offered on standard models
- You want a signature piece that will be a unique attraction exclusive to your venue
If a standard model can be modified to meet your needs through color changes, movement additions, or size adjustments, that is usually faster and more cost-effective than a fully custom design.
The Custom Design Process, Step by Step
Phase 1: Discovery and Concept (Weeks 1-2)
Every custom project starts with a discovery phase. Expect your manufacturer to ask detailed questions about:
- Your vision and inspiration for the creature
- Where it will be installed and what space constraints exist
- Your target audience and what kind of experience you want to create
- Budget range and timeline
- Technical requirements — power, control system type, interactive features
- Reference images, drawings, or design direction you have in mind
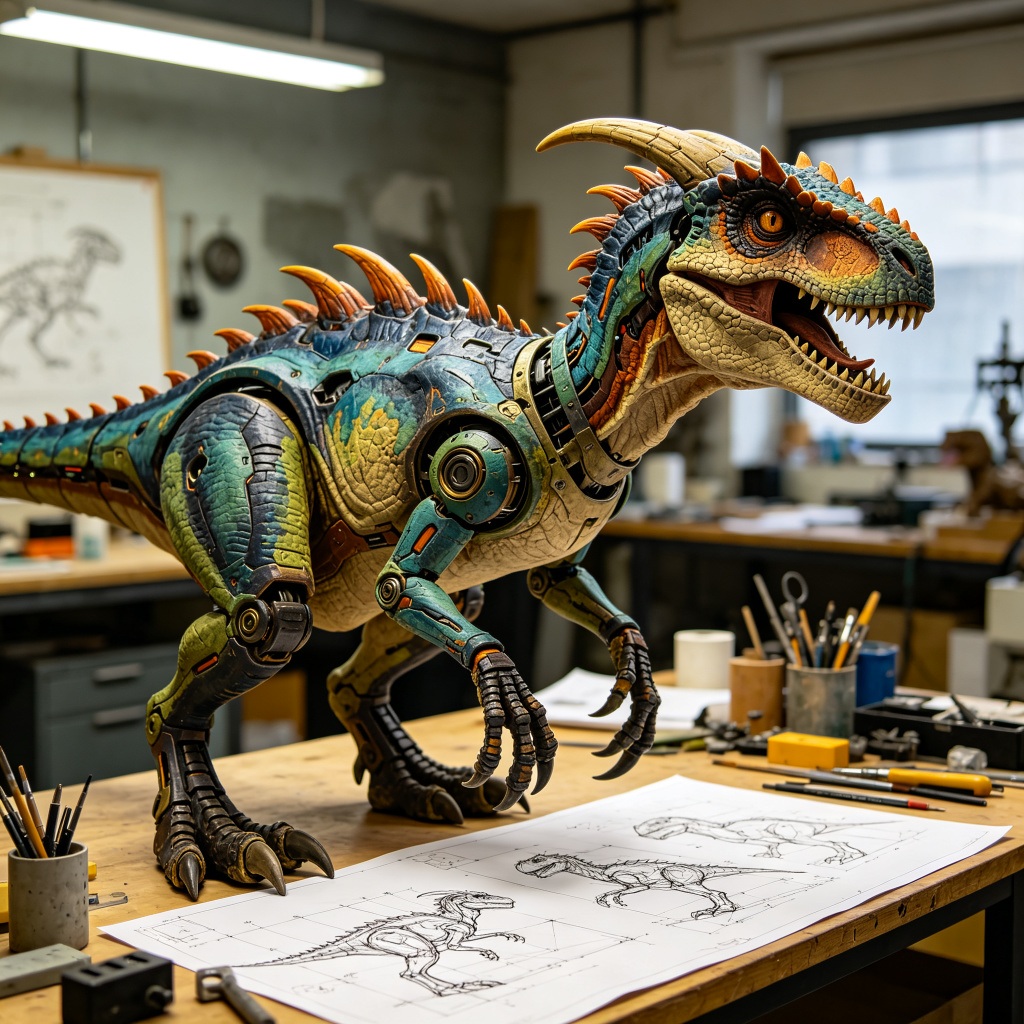
Based on this initial consultation, the manufacturer will create one or more concept sketches showing the proposed creature in different poses and angles, along with a preliminary quote and production timeline. This is the stage to provide feedback and iterate before detailed 3D design begins.
Phase 2: 3D Modeling and Design Development (Weeks 3-5)
Once the concept is approved, the design team creates detailed 3D digital models of the creature. These models show proportions, anatomy, and how the internal mechanism fits inside the body shape. You will typically receive:
- 3D renderings of the creature from multiple angles
- Mechanical layout showing movement points and internal structure
- Dimensioned drawings for site planning
- A finalized specification document listing every feature, movement, and material
This is the most important feedback stage. Changes are relatively easy and inexpensive at the 3D model stage. Once physical production begins, design changes become much more costly and time-consuming.
Phase 3: Engineering and Prototyping (Weeks 6-8)
With the design finalized, the engineering team translates the 3D model into production-ready engineering drawings, motor specifications, control system programming, and mold designs. For complex or unusual creatures, they may build a small-scale prototype or test a specific movement to prove it will work before committing to full production.
This is also when the control system is programmed. If you want specific behavior sequences, sensor responses, or interactive logic, the engineering team will implement and test this in parallel with physical construction.
Phase 4: Manufacturing and Sculpting (Weeks 9-14)
This is where the dinosaur starts to take physical form:
- Frame fabrication: The steel frame is cut, welded, and painted with rust-proof coating.
- Mechanical assembly: Motors, chains, linkages, and bearings are installed and tested for smooth operation.
- Foam sculpting: The body shape is built up from high-density foam and hand-sculpted by master sculptors.
- Mold making: Molds are taken from the sculpt (or 3D-printed molds are used) for the skin sections.
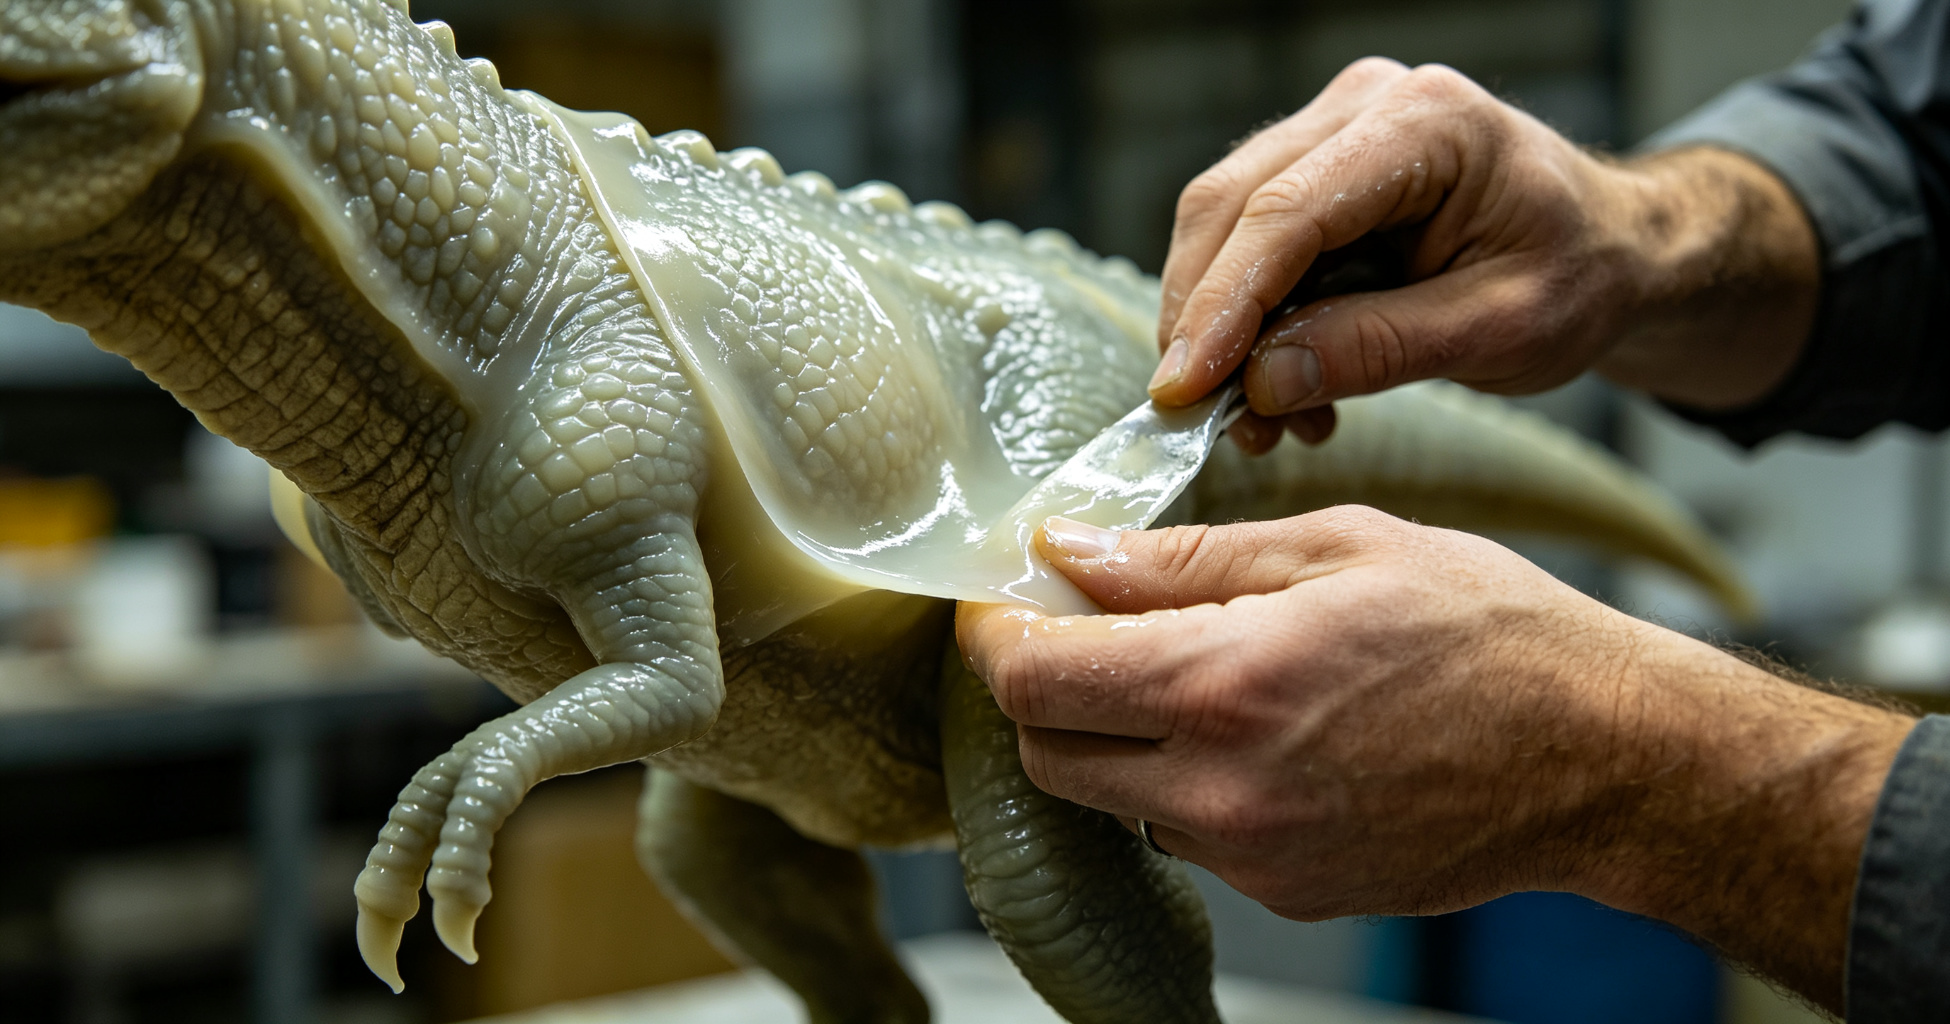
- Skin production: Silicone skin sections are cast, textured, and prepared for painting.
- Painting: Artists apply the multi-layer paint scheme to the skin sections.
During this phase, good manufacturers provide regular progress photos so you can see your dinosaur being built and request adjustments before completion.
Phase 5: Assembly and Factory Testing (Weeks 15-16)
All components come together for final assembly. The dinosaur is fully assembled, connected to its control system, and run through extensive testing:
- Each individual movement is tested for range, speed, and smoothness
- Full motion sequences are run and timed
- Sound effects are synchronized with mouth movements
- Sensor activation is tested and calibrated
- The dinosaur is run continuously for 24-48 hours as a burn-in test to catch any early failures
- Any problems discovered during testing are fixed before shipping
Many clients choose to visit the factory at this stage for a factory acceptance test — seeing the dinosaur in full operation before it ships, and approving it for delivery. This is highly recommended for custom projects.
Phase 6: Shipping, Installation, and Commissioning
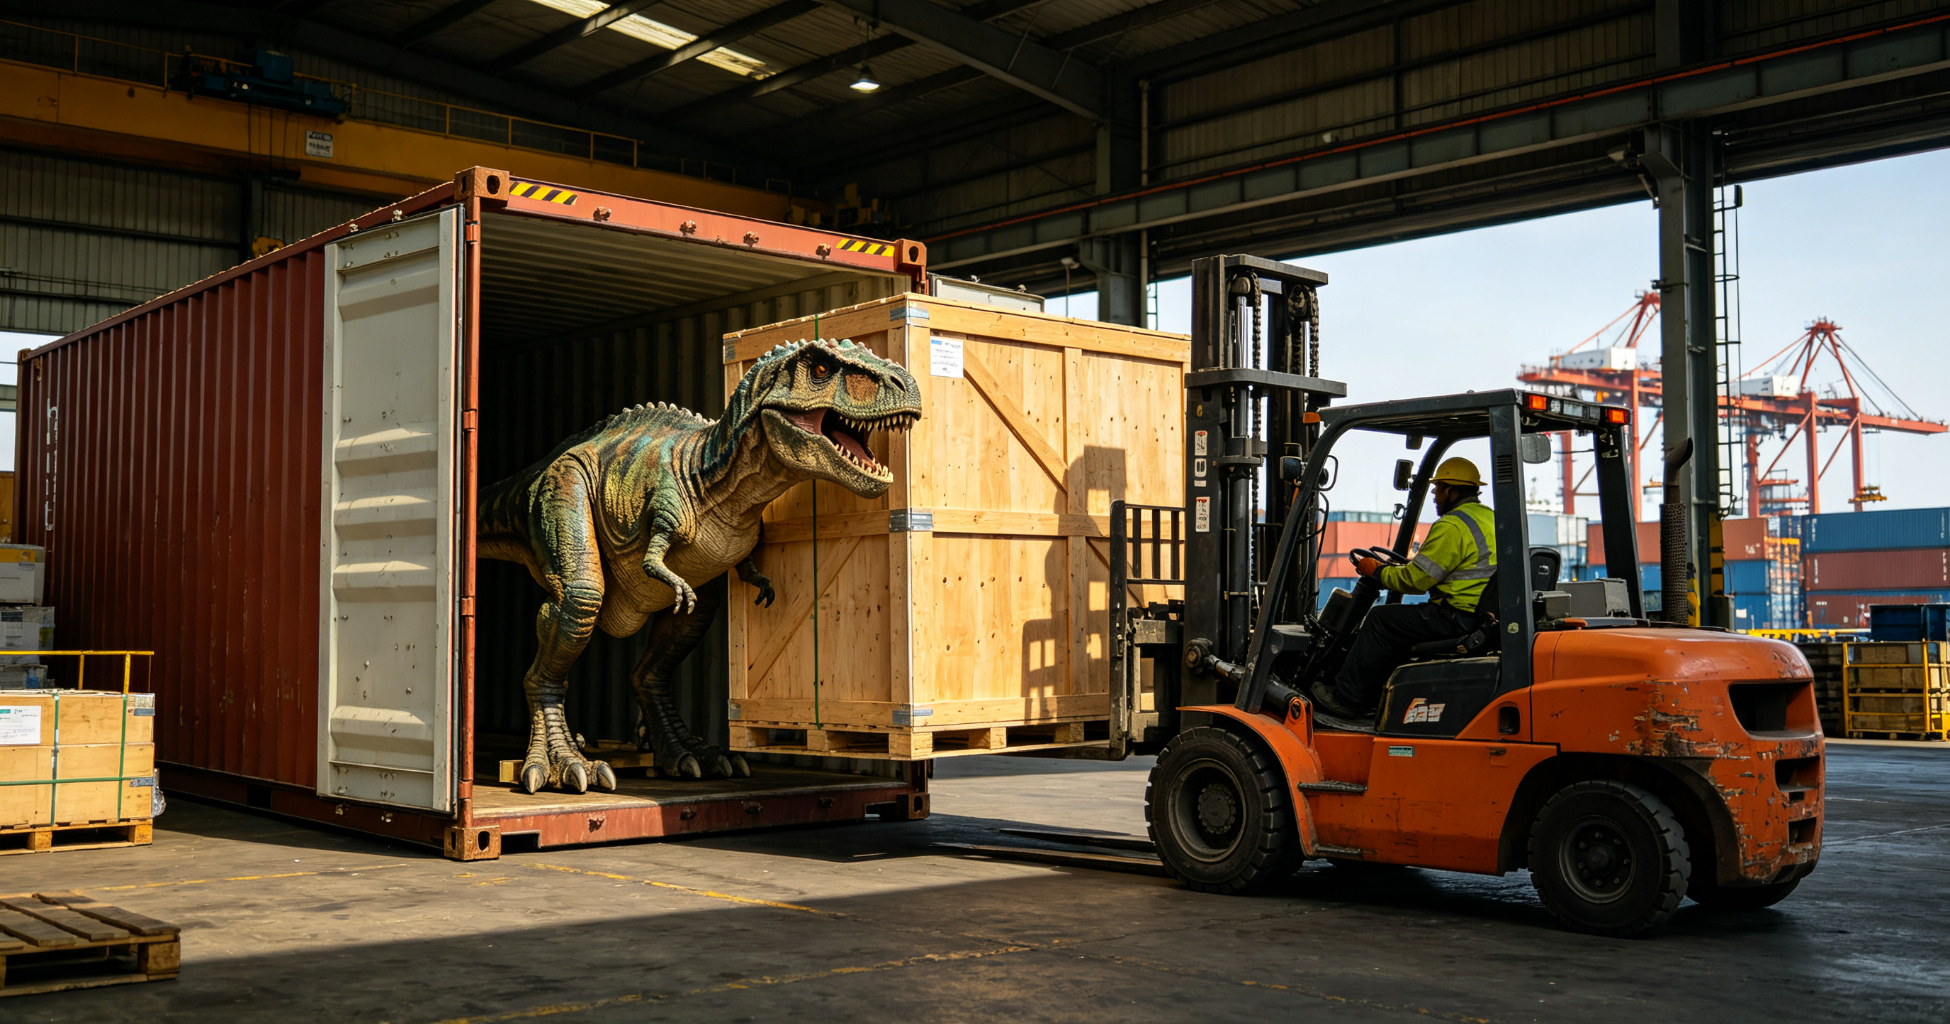
The dinosaur is carefully packed in custom wooden crates with foam padding and shipped to your location. The manufacturer's installation team (or your own trained team) assembles and commissions the dinosaur on site, running final adjustments and staff training before turning it over for operation.
Tips for a Successful Custom Project
- Start with a clear vision but be open to expertise: Know what you want, but trust your manufacturer's engineering and design experience about what will work best technically.
- Build in a contingency budget: Custom projects often have small changes along the way. Budget 10-15% over the base quote for design adjustments and upgrades.
- Request regular progress updates: Good manufacturers provide weekly or bi-weekly progress photos. Do not accept radio silence during production.
- Visit the factory if possible: There is no substitute for seeing your dinosaur in person at the factory before shipping.
- Get everything in writing: All design decisions, change orders, and specifications should be documented in writing. Verbal agreements lead to misunderstandings.
- Plan for the long term: Ask about spare parts availability, service support, and future modifications. A custom dinosaur is a 10-15 year investment.