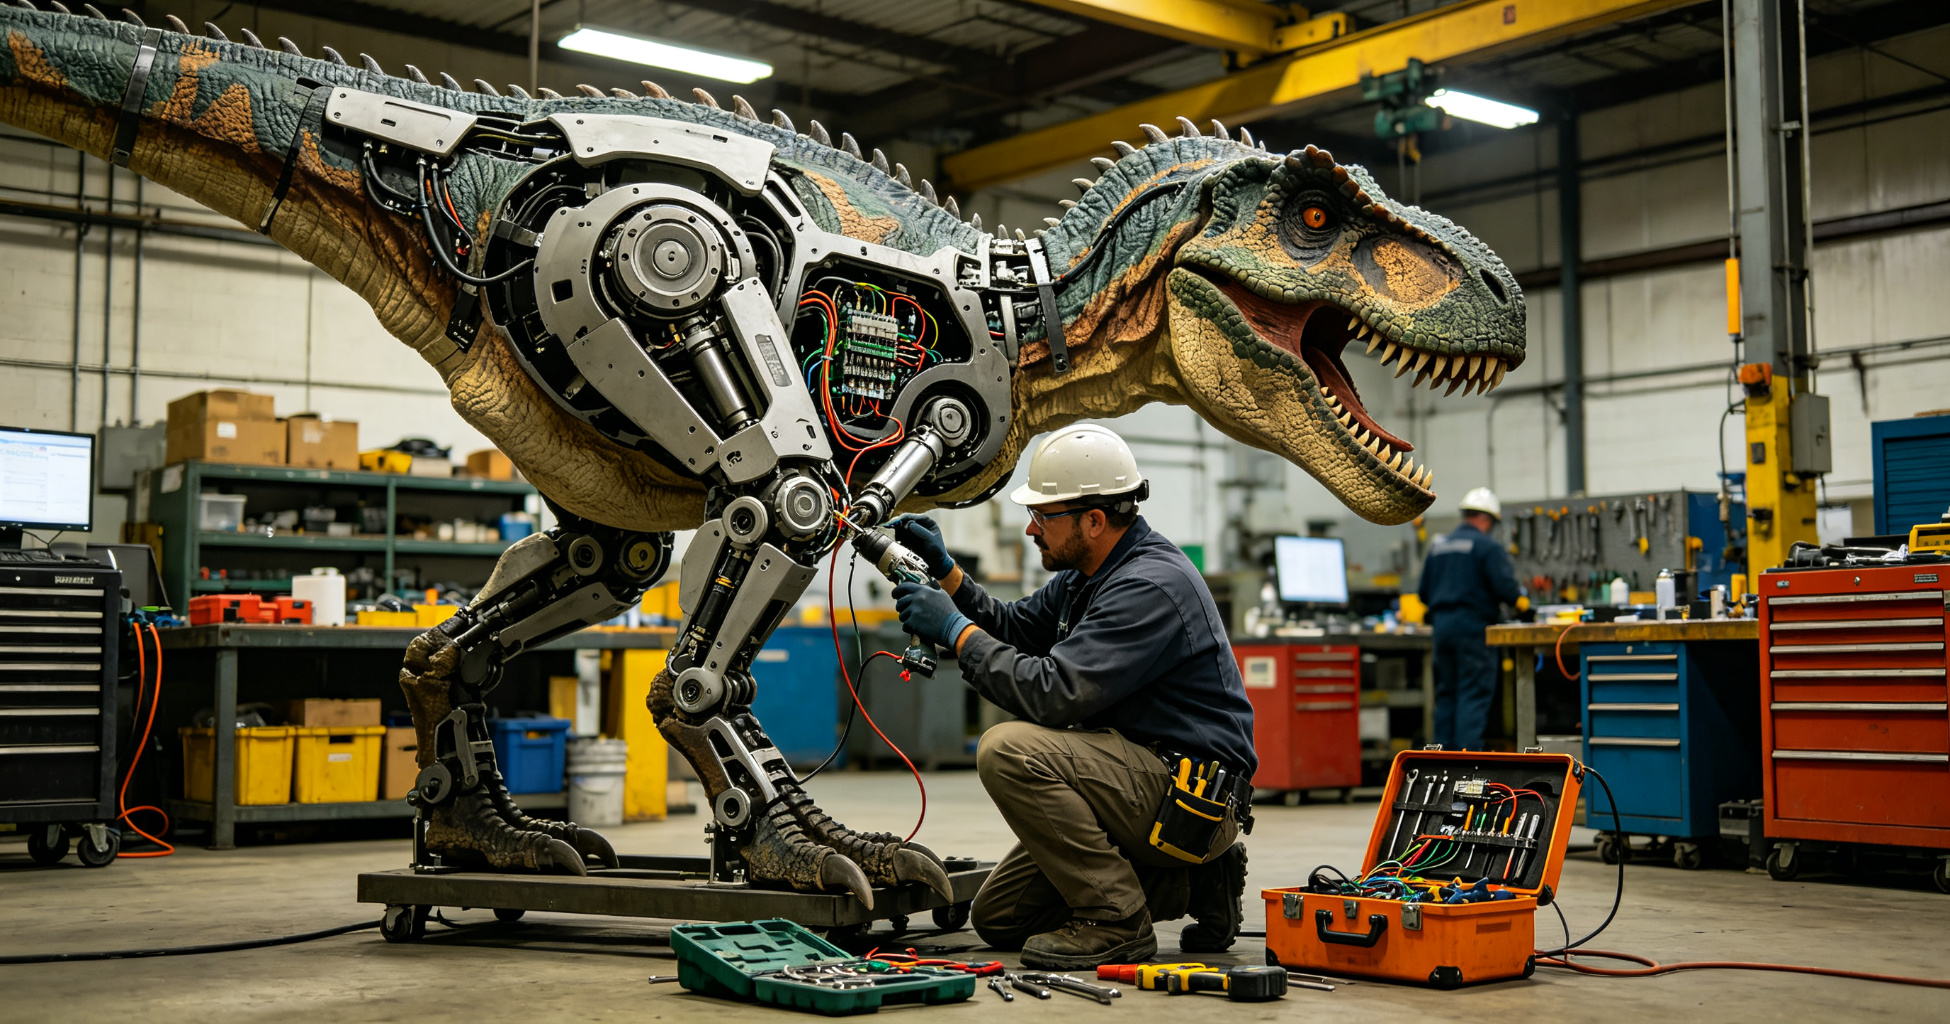
Even the best-built animatronic dinosaurs develop problems eventually. They are complex machines with many moving parts, operating outdoors in harsh conditions, running thousands of cycles per year. When something goes wrong, the key is to diagnose the issue quickly and know whether you can fix it yourself or need to call in a professional.
This guide covers the most common animatronic dinosaur problems, how to troubleshoot them, and which repairs are safe to tackle on your own. Always remember: when in doubt, turn off the power and call a professional. Working on live electrical systems or heavy mechanical components can be dangerous.
General Troubleshooting Principles
Before diving into specific problems, follow these basic troubleshooting steps:
- Safety first: Always turn off power before opening any panels or working on the dinosaur. Use lockout/tagout procedures to ensure no one can accidentally turn it on while you are working.
- Start with the obvious: Check power supply, circuit breakers, fuses, and connections first. A surprising number of "problems" are just a tripped breaker or loose plug.
- Look for recent changes: Did anything change recently — weather, maintenance work, a power surge? The cause of a new problem is almost always something that changed recently.
- Work systematically: Do not randomly replace parts hoping one will fix the problem. Test one thing at a time and use a process of elimination.
- Document everything: Take photos before and during disassembly so you know how to put it back together. Note error codes, symptoms, and what you have tried.
Problem 1: Dinosaur Will Not Turn On
Possible causes:
- Tripped circuit breaker or blown fuse
- GFCI outlet tripped (outdoor units)
- Loose or disconnected power cable
- Blown fuse in the control panel
- Faulty power supply / controller
- Storm damage or lightning surge
DIY fix: Start with the power source. Check the circuit breaker at the electrical panel. Check the GFCI outlet if applicable. Verify the plug is fully seated. If you can access the control panel, check the inline fuse — many control panels have a replaceable fuse on the power input board.
Call a pro if: The fuse keeps blowing, you cannot find any obvious cause, or the control panel shows signs of burn marks or water damage. Recurring blown fuses indicate a deeper electrical fault that needs professional diagnosis.
Problem 2: Movement Is Slow, Jerky, or Weak
Possible causes:
- Low voltage (shared circuit, undersized wire, long cable run)
- Dry or rusted chain / bearings
- Loose or slipping drive chain
- Failing motor
- Binding linkage or misaligned joint
- Motor controller fault
DIY fix: First, check if the problem affects all movements or just one. If all movements are slow, it is likely a power supply issue — check voltage at the dinosaur while it is running. If only one movement is affected, inspect that specific joint, chain, and motor. Lubricate chains and bearings. Check chain tension — it should deflect about 1/2 inch under moderate pressure.
Call a pro if: The motor is making grinding or screeching noises, you find broken gear teeth, the motor controller shows error codes, or the problem persists after lubrication and tension adjustment.
Problem 3: Movement Makes Unusual Noises
Possible causes:
- Dry bearings or bushings
- Loose chain slapping against housing
- Worn gear teeth
- Motor bearing failure
- Loose hardware rattling
- Skin rubbing on frame at a joint
DIY fix: Try to identify where the noise is coming from — which joint, which side, what kind of noise. Grinding noises usually mean a dry or failing bearing. Squeaking is often dry chain or linkage. Rattling and slapping are usually loose chains or hardware. Apply lubricant to the suspected area and see if the noise changes or goes away.
Call a pro if: The noise is a grinding or screeching sound that gets progressively worse, or if you can see metal shavings or worn gear teeth. These indicate serious mechanical wear that will lead to complete failure if not addressed.
Problem 4: Sensor Not Triggering (or Triggering Too Often)
Possible causes:
- Dirty or fogged sensor lens
- Sensor misaligned
- Sensitivity too high or too low
- Direct sunlight interfering (IR sensors)
- Failing sensor
- Loose sensor wiring
DIY fix: Clean the sensor lens with a soft cloth. Check that the sensor is pointing in the right direction. Adjust the sensitivity potentiometer if accessible (usually inside the sensor housing or control box). For outdoor IR sensors, make sure they are not pointing directly at the sun or reflective surfaces that cause false triggers.
Call a pro if: The sensor is completely dead after cleaning and adjustment, or if the issue is inside the control box and you are not comfortable working with electronics. Sensor replacement is straightforward but requires the correct replacement part.
Problem 5: Sound Not Working
Possible causes:
- Volume turned all the way down
- Loose speaker wires
- Blown speaker
- Faulty audio player / amplifier
- Water in speaker enclosure (outdoor units)
- Motion-to-sound sync cable disconnected
DIY fix: Check the volume control first — it may have been bumped or adjusted by mistake. Check speaker wire connections at both the speaker and the amplifier. If there is a separate audio player, check that it has power and is playing. For outdoor units, check the speaker enclosure for water — if you find water inside, dry everything thoroughly before testing again.
Call a pro if: You have confirmed power and signal are reaching the speaker but there is no sound (blown speaker), or if the amplifier or audio player has failed and needs replacement.
Problem 6: Skin Damage — Tears, Cracks, and Fading
Possible causes:
- Normal wear and tear at flex points
- UV damage from sunlight
- Vandalism or accidental damage
- Animal damage (birds, rodents)
- Freeze damage (water trapped in skin freezes and expands)
DIY fix: Small tears and cracks in silicone skin can be repaired with silicone adhesive and color-matched touch-up paint. Clean the area thoroughly, apply the adhesive, smooth it out, let it cure, and touch up the paint. Most manufacturers sell repair kits with the right materials and color-matched paint.
Call a pro if: The damage is large (bigger than your hand), in a high-flex area, or involves damage to the underlying foam or structure. Large or poorly repaired skin damage can allow water intrusion that causes much bigger problems inside the dinosaur. For significant damage, professional reskinning or factory repair may be needed.
Problem 7: Dinosaur Stops Mid-Sequence and Resets
Possible causes:
- Overheating motor or controller (thermal protection tripping)
- Overloaded circuit (breaker tripping)
- Low voltage causing controller reset
- Controller software error
- Loose wiring causing intermittent power loss
DIY fix: Check if the control box or motors are hot — if they are, the thermal protection may be cutting in. Check ambient temperature and ensure ventilation is not blocked. Test for voltage drop during operation. Check all connections for tightness.
Call a pro if: The issue persists after addressing ventilation and power, or if the controller shows error codes you cannot interpret. Intermittent electrical problems can be hard to diagnose and often get worse over time.
Problem 8: Water Inside the Dinosaur
Possible causes:
- Crack or tear in the skin allowing water entry
- Failed seal around wiring pass-through
- Clogged drainage holes
- Pressure washing with too much force
- Flooded base from heavy rain
DIY fix: DO NOT turn on the dinosaur if you suspect water inside. Disconnect power immediately. Open the control panel and any accessible body panels. Allow everything to dry completely — use fans to speed up drying. Inspect for water damage, corrosion, and mold. Find and seal the entry point. Clear drainage holes. Test all electrical components thoroughly before restoring power.
Call a pro if: You find significant water in the control box, rust on electrical components, or if the dinosaur does not work properly after drying. Water-damaged electronics can fail unpredictably and may need replacement.
When to Call a Professional
As a general rule, call a professional technician for:
- Any problem you cannot diagnose confidently
- Electrical problems inside the control box (unless you are a qualified electrician)
- Motor replacement or major mechanical work
- Major skin damage or reskinning
- Structural damage to the frame
- Any problem that keeps coming back after you fix it
- Water damage to electrical components
- Anything involving safety systems (E-stops, safety barriers, grounding)
Preventive Maintenance: The Best Repair Is Prevention
The best way to minimize repairs is to keep up with preventive maintenance. A well-maintained dinosaur will have fewer problems, last longer, and cost less over its lifetime. Follow the manufacturer's recommended maintenance schedule — daily visual checks, weekly lubrication and testing, monthly electrical inspection, quarterly full service, and annual professional inspection.
And when problems do occur, address them promptly. A small problem caught early is always cheaper and easier to fix than waiting for it to become a major failure.